

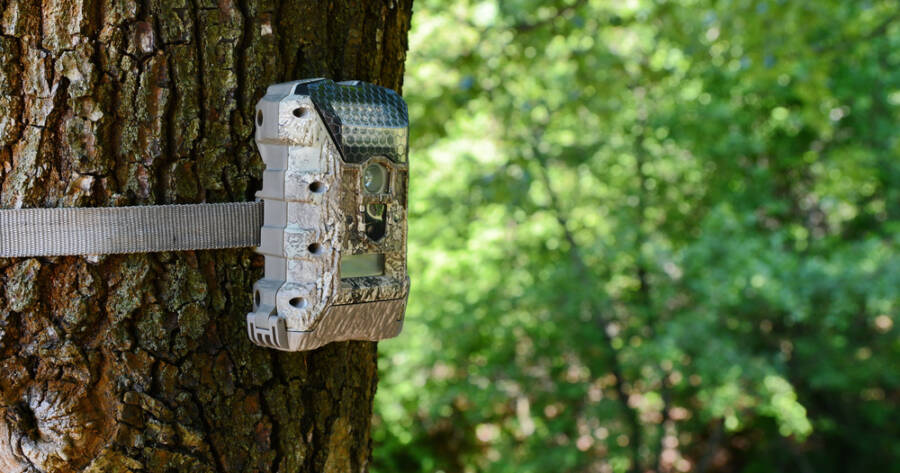
A backyard can become a very different place once the sun goes down. Animals that stay hidden during the day may cross lawns, visit gardens, or move quietly along fences while everyone inside is asleep. Nighttime trail cameras offer a simple way to catch that activity, revealing unexpected visitors and patterns that would otherwise go completely unnoticed.
How Trail Cameras Detect Wildlife in the Dark
The core technology behind a trail camera is a passive infrared (PIR) sensor. Rather than simply responding to movement, this sensor registers shifts in heat energy. When a warm-blooded animal passes through the camera’s field of view, the temperature contrast between the animal’s body and the surrounding environment triggers the capture sequence (source). This approach means the camera spends nearly all of its time in a low-power standby state, only activating when something worth recording actually appears (source).
Once triggered at night, the camera’s infrared LED array illuminates the scene using light that falls outside the visible spectrum, meaning neither animals nor people nearby see any flash (source). For backyard settings specifically, cameras that operate on a 940nm infrared wavelength, commonly called no-glow cameras, are strongly recommended, since lower-frequency models can emit a faint red glow that may disturb neighbors or signal to people that monitoring is taking place (source).
Choosing the Right Camera for Image Quality
When evaluating trail cameras, megapixel counts printed on product packaging can be misleading. Many manufacturers advertise figures of 14, 30, or even 48 megapixels, but the cameras’ actual native resolution is often a fraction of that, inflated through a digital process called interpolation (source). A better measure of quality is real-world performance in low-light conditions, where cameras vary substantially.
In independent field testing, the Bushnell Core S-4K No Glow Trail Camera stood out by producing the clearest and most natural-looking images, both during the day and after dark, reliably detecting movement at distances up to 70 feet (source). Even strong performers tend to show a drop in detail past 60 feet, with most other models losing meaningful clarity beyond 40 feet once lighting conditions deteriorate (source). Understanding these realistic limitations helps set appropriate expectations before purchasing.
Placement and Positioning for Maximum Results
Where a camera is mounted matters as much as which camera is chosen. For most standard trail cameras, a distance of 10 to 15 feet from the intended target zone creates the right conditions for the infrared flash to spread evenly across the frame and for the PIR sensor to trigger consistently (source). Mounting too far away compresses image detail and risks missed triggers, while placing the camera too close can result in overexposed or partially cropped subjects.
Sensitivity settings also require careful attention in a backyard environment. Setting the PIR sensor to its highest sensitivity level can produce an overwhelming number of false triggers from wind-blown foliage, heat radiating from HVAC equipment, or passing vehicles on nearby streets. A medium or low sensitivity setting tends to filter out these irrelevant events while still catching genuine animal activity (source).
Understanding Nocturnal Wildlife Patterns
Knowing when specific animals are most likely to appear helps photographers and nature enthusiasts set up their cameras at the right times. Raccoons and opossums tend to be most active between 11:00 PM and 2:00 AM, while deer are more typically observed during the dusk window between 4:30 and 6:30 PM (source). Aligning recording schedules or reviewing footage around these windows can dramatically improve the rate of meaningful captures.
Some modern cameras take the process a step further through cellular connectivity, transmitting images directly to a smartphone app as soon as they are captured (source). This eliminates the need to physically retrieve a memory card and makes it possible to follow wildlife activity in something close to real time, even from inside the house.
Battery Considerations for Long-Term Monitoring
Trail cameras left outdoors for extended periods need reliable power through changing weather conditions. Rechargeable nickel-metal hydride (NiMH) and lithium-ion battery types both outperform standard alkaline cells in cold temperatures and deliver better long-term value for continuous monitoring applications (source). Since the camera’s standby design conserves energy when no motion is present, a well-chosen battery set can support weeks of unattended operation during active seasons.
Why You Should Learn More About Nighttime Trail Cameras Today
Trail cameras built for nighttime use offer a practical and unobtrusive way to observe the wildlife sharing a backyard. From PIR sensor technology and no-glow infrared illumination to smart placement strategies and cellular delivery, the tools available today make it straightforward to document nature’s after-dark activity without disturbing it.
Choosing the right camera, positioning it thoughtfully, and matching sensitivity settings to the environment all contribute to a richer and more rewarding experience. For anyone curious about what actually moves through their yard between dusk and dawn, a well-placed trail camera provides answers that daylight alone never could. Exploring the full range of available camera types and features rewards that curiosity with increasingly detailed and compelling results.